
The short answer
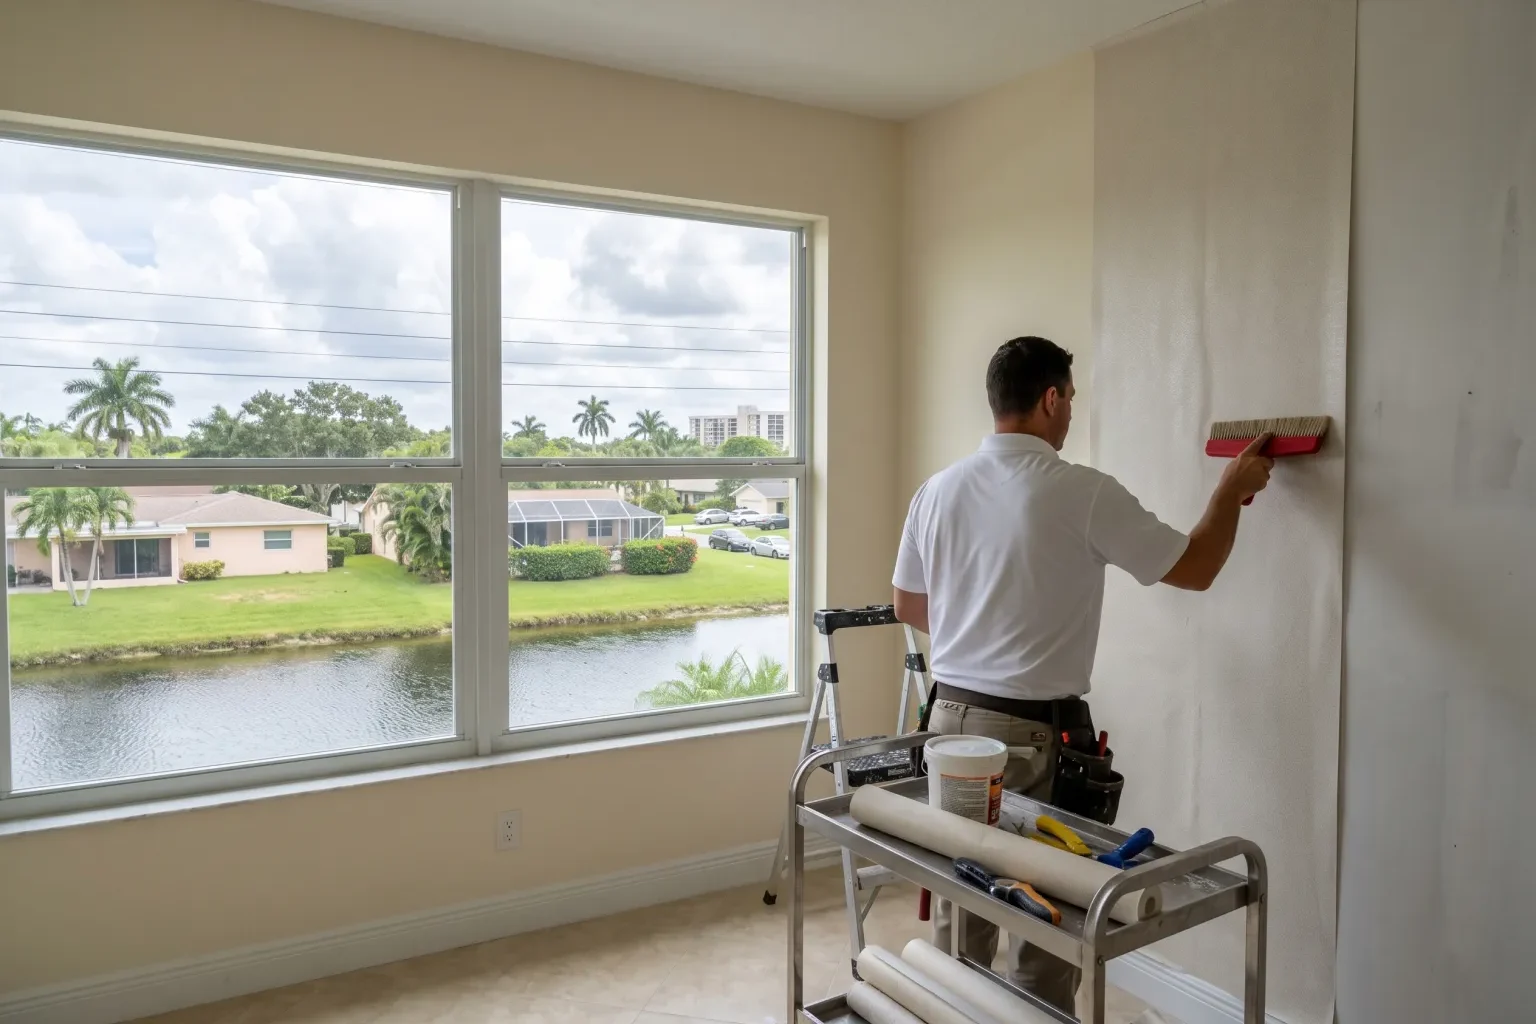
Wall preparation and repair is the step that makes wallpaper last: we strip old coverings, fix cracks and holes, smooth texture and apply a wallpaper primer before hanging. It's the right choice whenever your walls are uneven, damaged, textured or previously papered, which describes many South Florida homes.
Wallpaper only looks as good as the wall underneath it. In Sunrise and nearby cities like Plantation, Tamarac, Weston and Fort Lauderdale, many homes have textured drywall, adhesive left behind by an old wallcovering, patched nail holes, or glossy paint that was never meant to hold paper. Wall preparation and repair is the work we do before a single strip goes up. We remove what's there, fix damage, smooth the surface and prime it so the new paper bonds evenly and stays flat. This page explains when you need this service, how we handle each step, what affects the cost of your project, and how to keep your finished walls looking right.
When Wall Preparation and Repair Is the Right Choice
Most rooms need at least some preparation, but certain conditions make it essential. Wallpaper is thin, and it shows almost everything behind it. A hairline crack, a ridge of joint compound or a patch of orange-peel texture can telegraph through the paper and catch the light, especially with smooth, metallic or grasscloth finishes.
If you're unsure, we can look at the room and tell you what the walls need before you commit to a paper. Sometimes a light sanding and primer is enough. Other times, the wall needs a full skim coat to get a surface flat enough for the paper you've chosen.
- You're replacing old wallpaper and the backing or glue is still on the wall
- Your drywall has knockdown, orange-peel or other textures
- There are holes from shelves, TV mounts or picture hooks
- You see cracks, dents, water stains or peeling paint
- The walls have glossy or semi-gloss paint that paper won't grip well
- You're papering a bathroom, laundry room or other space that sees moisture
How We Prepare and Prime the Walls
We start by protecting the room. Floors and furniture get covered, outlet and switch plates come off, and we turn off power to the circuits we're working near.
Next, we remove any existing wallcovering. Depending on the paper, that may mean scoring and steaming, or peeling the top layer and soaking the backing. We take care not to tear the drywall's paper face. If it does get damaged, we seal it before going further so it doesn't bubble later.
Then comes repair. We fill holes and cracks, rebuild damaged corners, and sand everything smooth. Textured walls usually get a skim coat of joint compound, applied thin and sanded flat. We pay attention to timing here. From May through October, South Florida's heat and humidity can slow how quickly compound and primer dry, so we don't rush a coat that hasn't fully cured.
Finally, we apply a primer made for wallpaper. A good wallpaper primer seals the surface so adhesive doesn't soak in unevenly, helps the paper slide into position during hanging, and makes future removal much easier. We choose the primer based on your wall surface and the type of paper you're installing.
Our Installation Process, Step by Step
Once the walls are ready, installation follows a careful sequence. Each step affects how the finished room looks, so we take our time with all of them.
- Measuring: We measure each wall, account for windows, doors and built-ins, and calculate how many rolls you need with enough extra for pattern matching and trimming.
- Planning the layout: We decide where the first strip goes so the pattern is centered on focal walls and the least visible seam lands in a low-traffic corner.
- Plumb line: We mark a true vertical line, since walls and corners are rarely perfectly straight.
- Pattern matching: We cut strips in order and line up the design at every seam, whether it's a straight match, a drop match or a random match.
- Seams: We butt edges tightly together without overlapping, then roll them gently so they lie flat without squeezing out adhesive or polishing the surface.
- Trimming: We trim cleanly at the ceiling, baseboards, window and door casings, and around outlets using sharp blades changed often.
- Cleanup: We wipe away any adhesive on the paper face, ceiling and trim, reinstall cover plates and leave the room ready to use.
What Affects the Cost of Your Project
Every room is different, so we price each project after seeing the space and the paper you've picked. These are the main factors that shape the cost:
- Wall condition: Smooth, sound walls need less work than walls with heavy texture, old paper, water damage or many repairs.
- Paper type: Traditional prepasted paper hangs differently than unpasted, paste-the-wall, grasscloth, vinyl or delicate hand-printed papers, which take more time and care.
- Pattern repeat: Large repeats and drop matches require more cutting, more careful alignment and more material.
- Room size: More wall area means more prep, more primer and more strips to hang.
- Ceiling height: Tall walls and stairwells call for scaffolding or ladders and longer strips that are harder to handle.
- Obstacles: Lots of windows, doors, cabinets, outlets and angled walls add trimming time.
How to Care for Your Finished Walls
Give the paper time to settle. Adhesive keeps curing for a few days after installation, so avoid scrubbing, hanging pictures or pushing furniture against the walls during that time.
For routine cleaning, dust with a soft, dry cloth or a vacuum brush attachment. For washable papers, wipe marks gently with a barely damp sponge and mild soap, then pat dry. Check the manufacturer's care instructions first, since grasscloth and some specialty papers shouldn't get wet at all.
Humidity is the biggest challenge for wallpaper in our area. Keep your air conditioning running steadily, especially during the hot, wet months, and use exhaust fans in bathrooms and laundry rooms. During hurricane season, from June 1 through November 30, a power outage can let indoor humidity climb quickly. Afterward, look over seams and corners, and call us if you notice any lifting so we can fix it before it spreads.